Unreal Engine 4 Genvid Blueprint
Preparation for your game
To simplify the Genvid SDK integration into your Unreal project, you
can now create a Blueprint class directly from the editor. The
Blueprint parent class needs to be derived from
UGenvidStreamer.
Once you have created your Blueprint asset, you can start by placing
the blueprint events needed for your project into the Unreal Editor.
In the all Actions for this Blueprint contextual menu type
Add event Genvid to see the events available from the Genvid
SDK.
Note
The event BeginPlay() is mandatory
because you need to call the Startup()
function to load the Genvid module and create your streams, events
and commands. All the other events are there to simplify the
integration with your game. Also, you will probably need to use at
least one of the available callback if you want some interactions.
After placing all events and callbacks needed for your project, you should have a skeleton looking like the image just below.
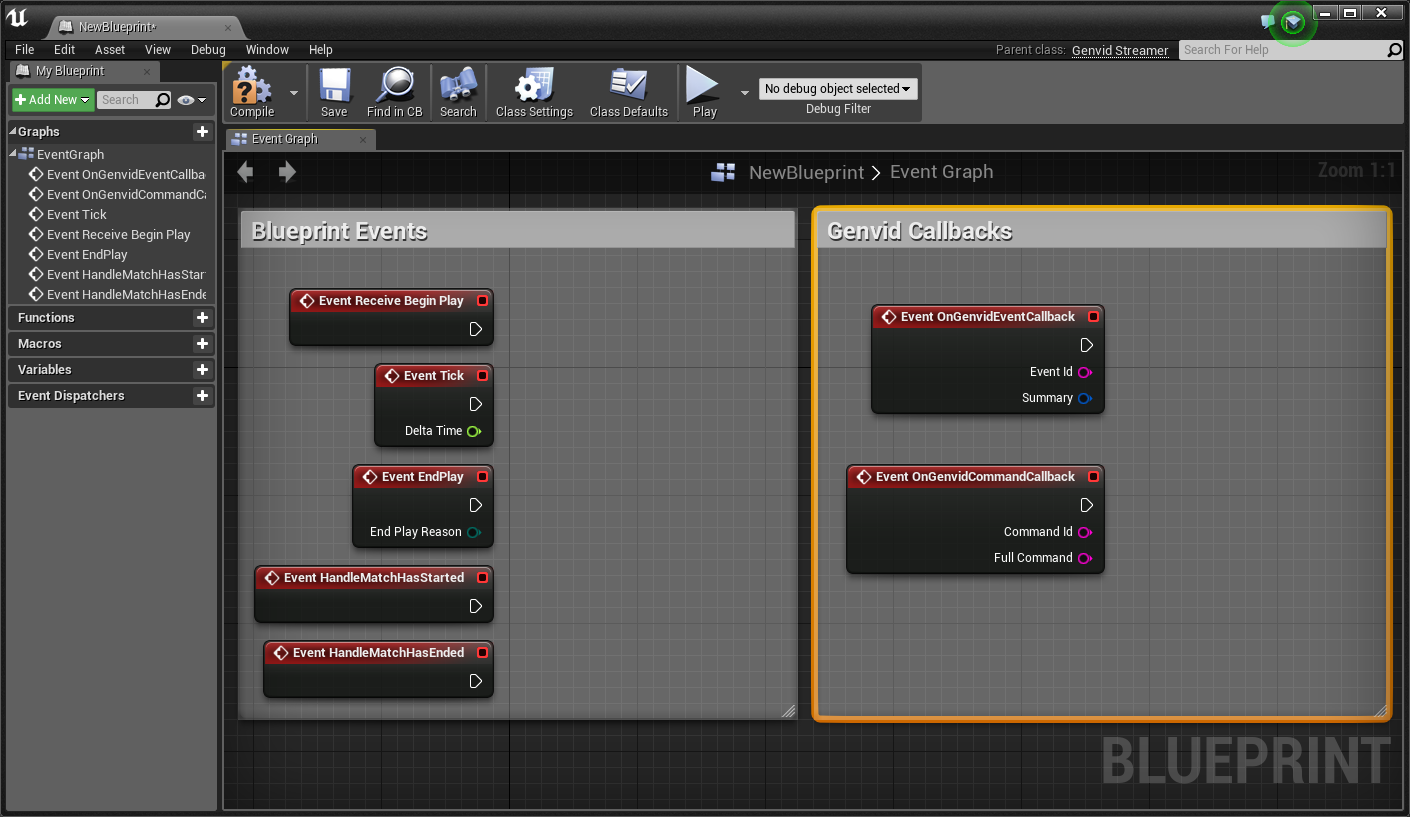
At this point, the skeleton is done. You can now setup the streams you want to manage in the Blueprint.
As you can see in the animation just below, you can add your own
Stream/Event/Command Ids. Also, make sure to set the streaming tick
interval variable to a better value if you don’t want to be in sync
with the frame rate.
Now you are ready to start the management of your Streams, Events and Commands. Start by creating a function for each Events and Callbacks accessible from Blueprint. Here is an example of what it should look like.
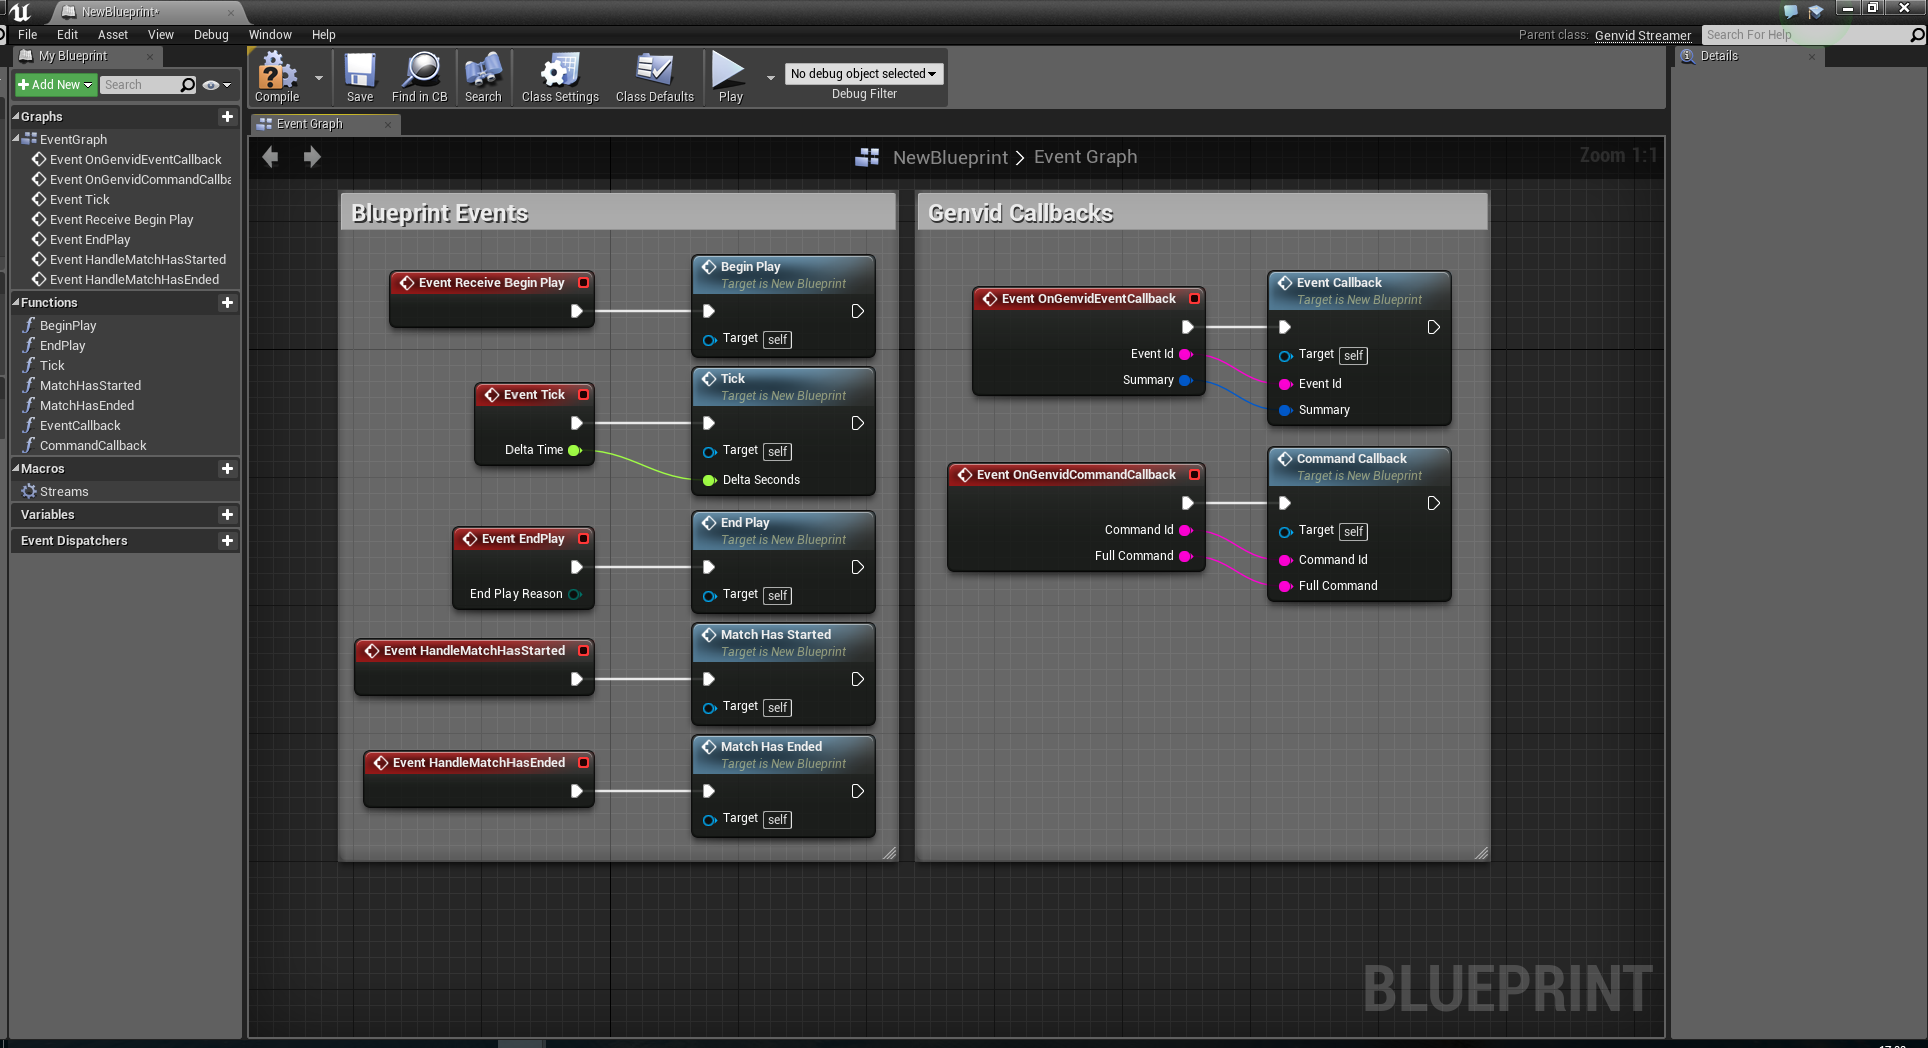
In BeginPlay(), you can now call the
Startup() function to create your Streams
and subscribe to your Events and Commands.
At this point you’re ready to send GameDatas, Annotations and
Notifications. Take a look at the BP_GenvidConnector.uasset
used in the UnrealTournament demo to see an advanced example of
Blueprint with Genvid.