Configure the Windows Instance
Setting up a Windows instance on your cloud environment is similar to setting up a real machine. This section walks you through setting up TightVNC for your remote connection, then the audio and video components you’ll need.
Note
You can find these instructions on the Desktop of the game machine under the
0 - Genvid Documentation shortcut.
In This Section
Change the VNC password
The default VNC password is set to 1genvid6. Although the port is
not accessible outside the trusted IPs set by the system (which is
only the external IP of the developer machine IP by default), it is
still a good idea to change the password to something only your
team knows.
To modify the TightVNC configuration, click the TightVNC icon in the notification area of the taskbar.
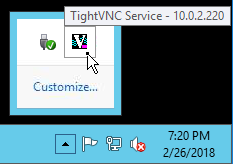
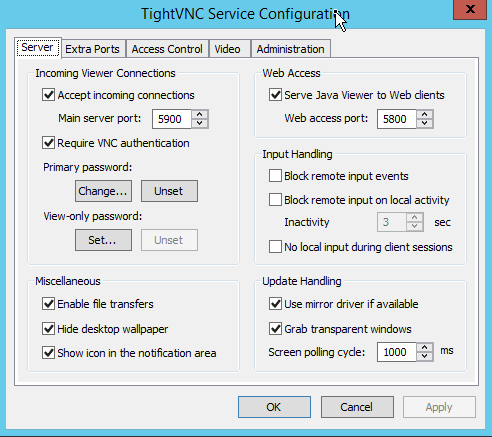
This opens the TightVNC configuration dialog where you can change the Primary password. After making your changes, restart TightVNC for them to take effect.
See also
Install the Virtual Audio Cable
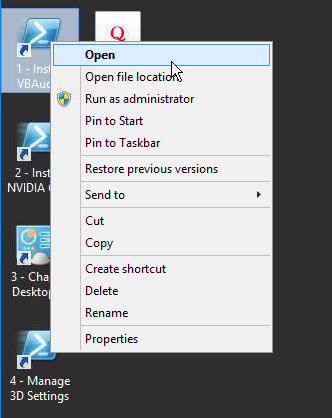
Because the instance doesn’t have real speakers Genvid uses virtual drivers. To
install them, launch the desktop link 1 - Install VBAudio.
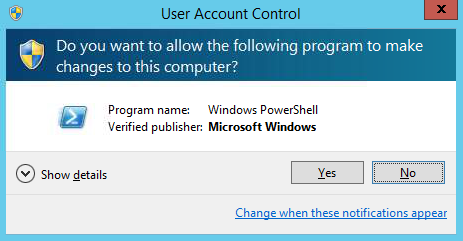
When the Windows Security dialog appears, select Yes.
A window will pop up and the script downloads the installer and starts it. When the VBAudio installer appears, select Install Driver.

When the Windows Security dialog appears, select Yes.

When the installer finishes, select OK but don’t reboot yet. That can wait until after you install the video drivers.
Install the NVIDIA GRID Drivers
To install the NVIDIA GRID drivers, launch the 2 - Install NVIDIA GRID
Drivers from the desktop. This opens the NVIDIA Web Page for the Driver.
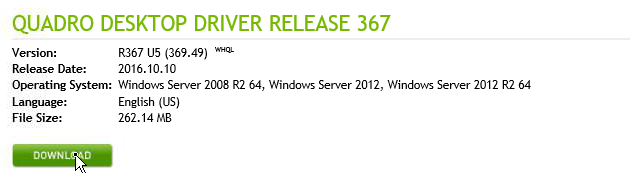
Click the Download button. After, you will see the NVIDIA License Agreement. Click Agree & Download to accept and save or directly run the installer.
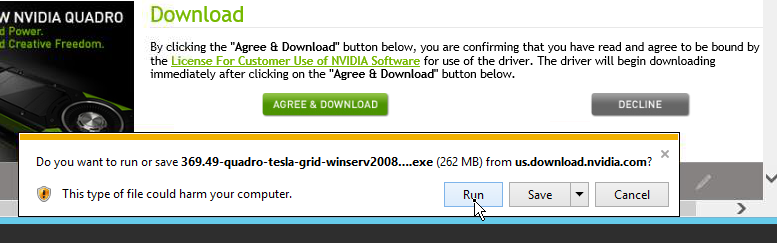
When the Windows Security dialog appears, select Yes. Accept the
defaults to start the installation.
When installation finishes, you’re prompted to reboot the machine. Restart it now to finish the setup. The machine only needs a few seconds to restart and you can reconnect to it.
Set Up the Display
Once you reconnect, launch the 3 - Change Desktop Resolution link on the
desktop.
From the Change the appearance of your displays dialog, click Detect. A
second screen appears saying Another display not detected.
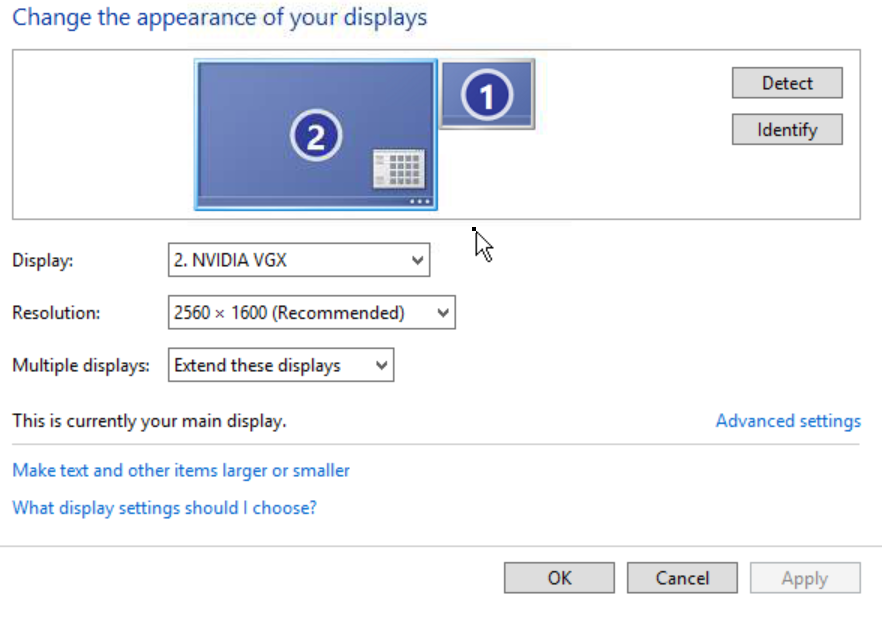
Under Multiple displays, select Try to connect anyway on: VGA.
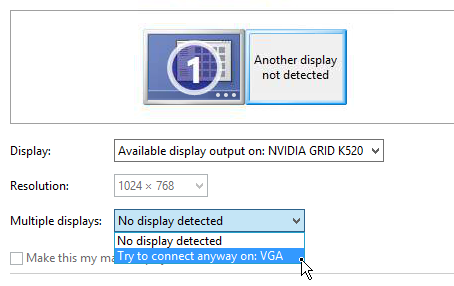
The display is now labeled 2. Next:
- Click Apply
- Select display
2 - Select
Show desktop only on 2underMultiple displays - Click Apply
- Click Keep changes on the countdown dialog
You can now select a new resolution. The suggested resolution is 2560x1600 (the maximum), which should work fine. This won’t affect either the game or the stream resolution, since the game runs windowed.
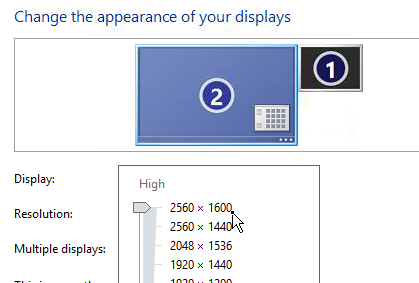
- Click OK
- Click Keep Changes
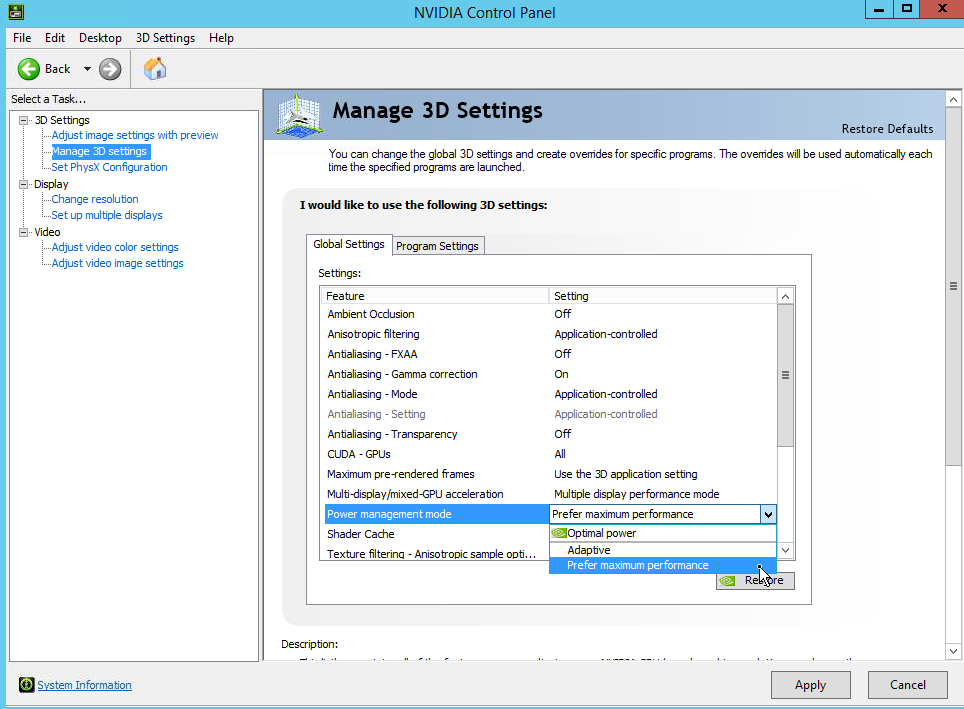
Launch the 4 - Manage 3D Settings from the desktop to open the NVIDIA
Control Panel. You can then select 3D options you want. We recommend you at
least set Power Management to favor performance.
- Go to 3D Settings -> Manage 3D Settings
- Select Prefer maximum performance under
Power management mode - Click Apply
You can now customize and install any runtime libraries or special software you want on the machine. Although you can update the game later, you can save some setup time if nothing is likely to change.
Note
Don’t install anything on the Z: drive, as it will be scrapped when we terminate the instance.