Creating A Project From Scratch Using The Genvid Plugins
This section describes how to create an Unreal Engine 5 project from scratch, integrating all three Genvid Plugins along the way.
In This Section
Create A New Project
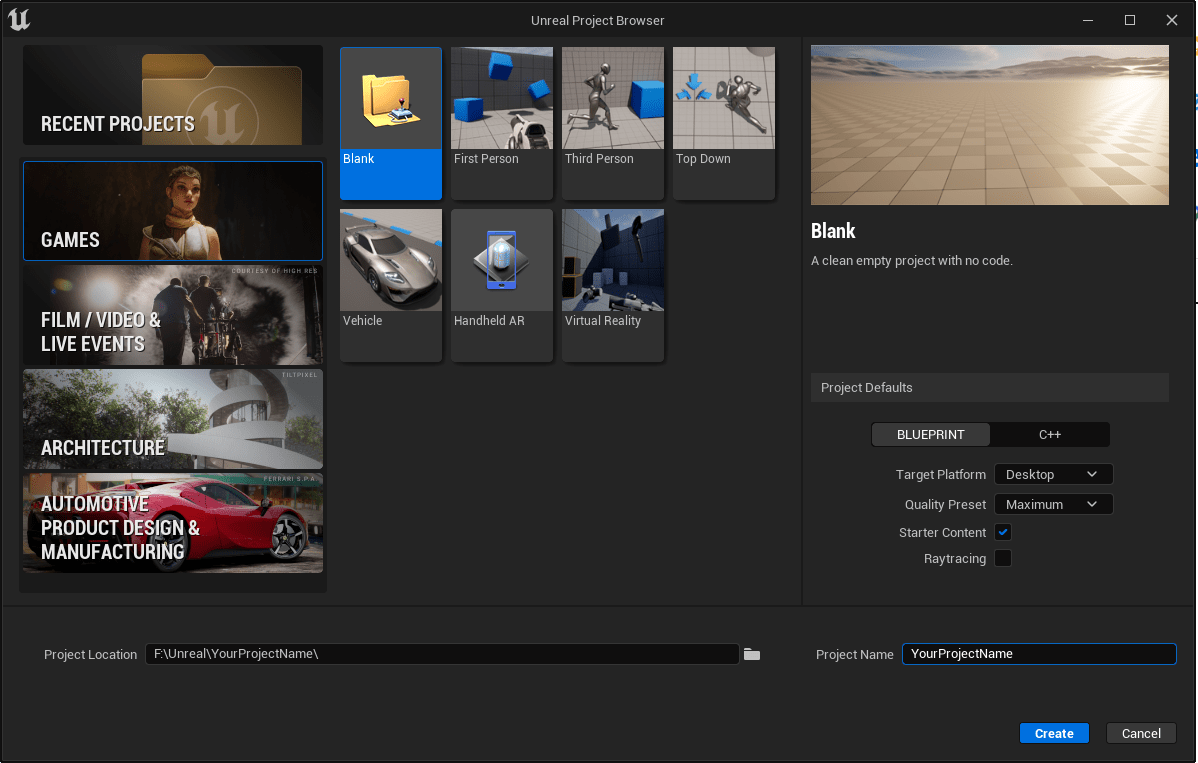
Launch the Unreal Engine 5 editor.
Select a blank project in the Games section.
Make sure the project type is Blueprint. (Usually the default.)
Name your project.
Click Create Project.
The Unreal Editor will open a default scene once the project is created.
Import The Genvid Plugins
Close the editor.
Navigate to your project folder (where the
YourProjectName.uprojectfile is).Create a
Pluginsfolder.Copy the Genvid plugins into the
Pluginsfolder.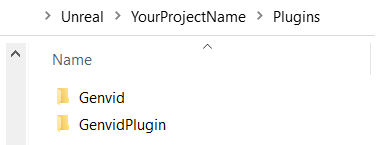
The Unreal editor will automatically detect that the plugins are present.
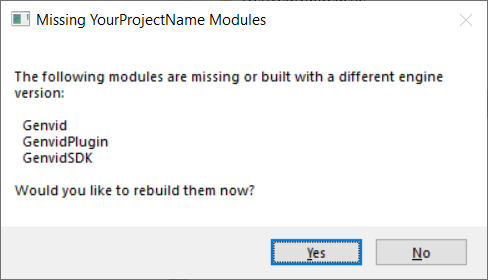
Click
YourProjectName.uprojectto launch the editor.Click Yes when the dialog box ask if you want to rebuild the new modules.
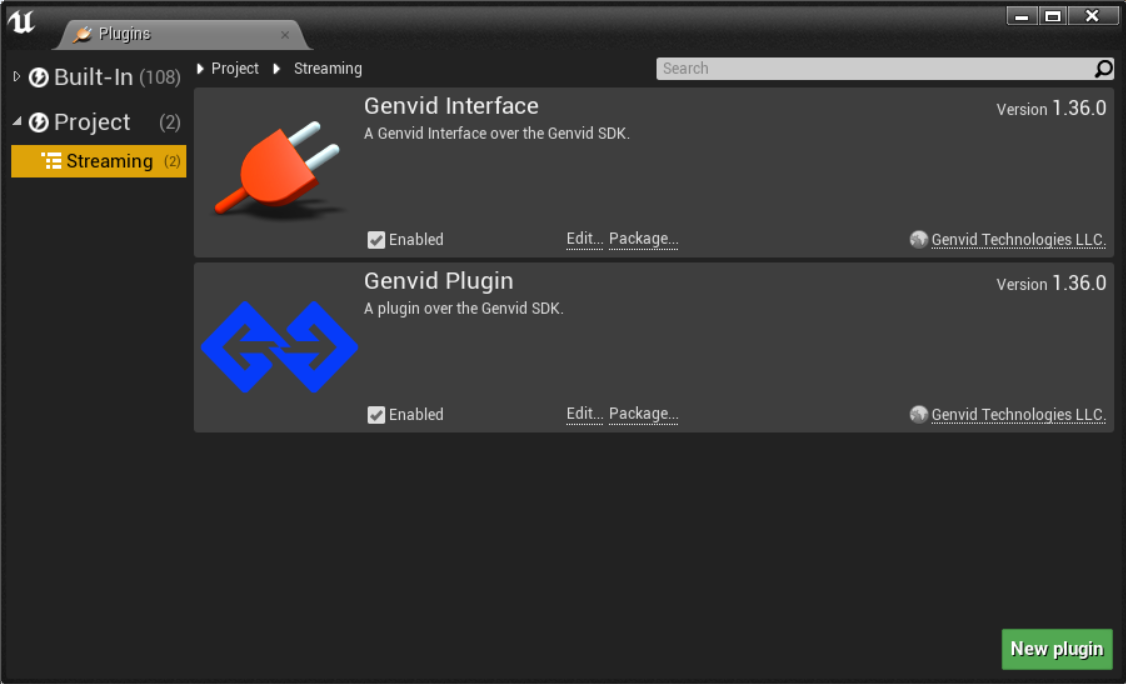
The plugins will be available once the editor launches. Go to to see the available Genvid plugins.
Create Basic Source Files
Creating a new project and importing the Genvid plugins is enough to get you started using them in a blueprint project. There are additional steps if you want to generate a Visual Studio solution and add code functionality.
Create a
Sourcefolder next to thePluginsfolder.Create a
Source/YourProjectNamefolder.This folder will house your projects public and private source files.
Create a
Source/YourProjectName/YourProjectName.Build.csfile.This file will determine how the code for your main module is built. Use it to define and include dependencies.
Create the main header file in a
Publicfolder. For example::file:`Source/YourProjectName/Public/YourProjectName.h`
Make sure it includes any header files necessary to compile the classes contained within the module.

Create the main C++ file in a
Private. folder. For example::file:`Source/YourProjectName/Public/YourProjectName.cpp`
Use this file to register and implement the main module.

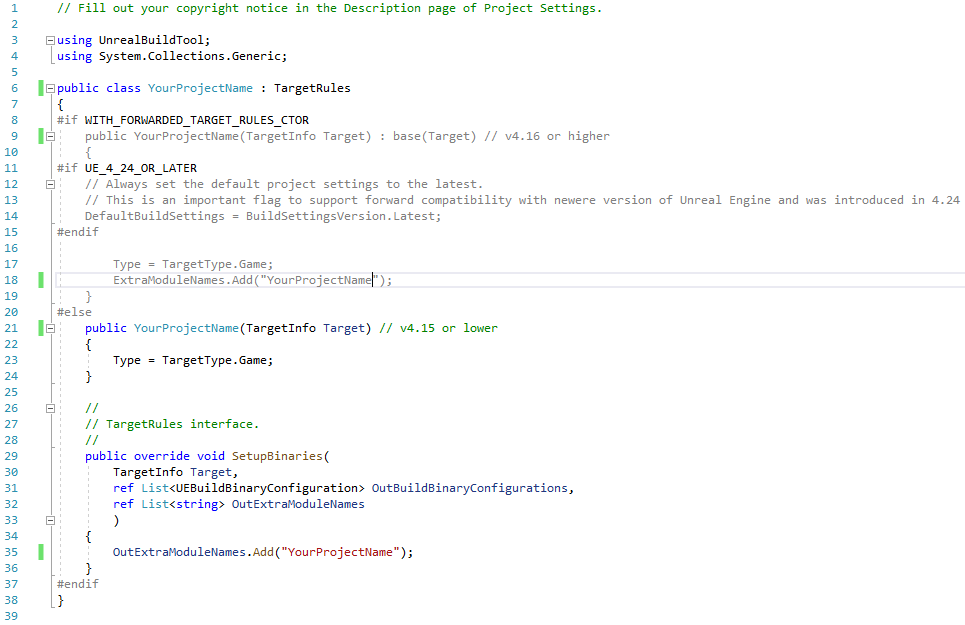
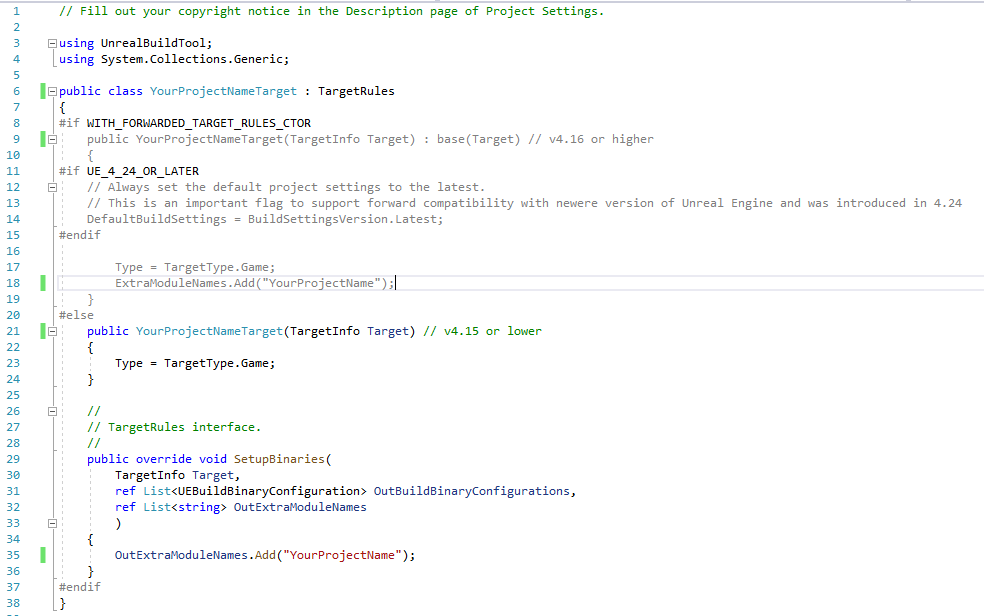
Create a target file. For example:
:file:`Source/YourProjectName.Target.cs`
Use this file to define properties for the executable of your game.
Right click
YourProjectName.uproject.Select Generate Visual Studio project files to generate a Visual Studio solution.