First Steps
Requirements
Genvid provides the necessary Terraform templates for managing your cluster on AWS. The following steps will help you configure your first cluster. The cluster configuration takes about an hour to complete, but you only have to do it once, and the results can be shared with your team afterwards.
For running under AWS you first need an AWS account. Please note that running Genvid does not fall under the free tier, so your account must have an approved credit card. Genvid Technologies is not responsible for any billing on your account. Use your servers wisely!
AWS Configuration
Start configuring your AWS account by running:
aws configure
Follow the instructions indicated after entering the command and enter your credentials when necessary [1]. After that, you need to generate a default key pair to use with your instances. Type the following command:
py cloud.py generate-keypair
This will generate a new keypair and will save the keys in the files
config/key.pem and config/key.pub [2]. It will also save a
reference to these files under the file terraform.tfvars. The key
files can be kept at this location, but it is possible to move them at
a different location, though you would need to update the reference in
terraform.tfvars. See the documentation on Amazon EC2 Key Pair
for more information on managing your keys.
| [1] | A current bug in our script force us to have the same region in
both the AWS profile and the terraform settings (explain
later). The default region in terraform is us-east-1. You
can either set your default to this region or set your default
region in terraform. |
| [2] | The last version of the cryptographic library uses for generating the key also output a big warning when generating the key. You can safely ignore it. |
Terraform Configuration
In the previous step, the terraform.tfvars file was created and it
will be used for saving various configurations options for terraform.
The templates have many options available, and these options are
listed under cloud-services/terraform/variables.tf with their
appropriate description. Currently, almost all the options can be
left to their default value, but some options offer interesting
changes, especially if you have many users using the same AWS Account
ID (i.e. you have all access to the same resources):
private_key_pathandpublic_key_path. These are the paths to the key that will be imported in your cluster. They don’t have any default values but can be generated withcloud.py generate-keypair.regionis the AWS region where your cluster will be created. This default setting is set tous-east-1but feel free to use another one which contains G2 instances [3].game_azis the AWS availability zone, with the region prefix. The default settings isa. However, it happen often that a zone doesn’t have any G2 instances left and you must change the availability zone to have one. There is, right now, no way to know in advance if an instance will be available in a specific zone.clusteris the name of your cluster. All resources in your cluster are tagged with this name and all the instance with this tag will try to communicate with each other. Make sure to use a unique name for your cluster especially if you are working with other people using their own cluster. For this reason, there is no default value for this variable.admin_passwordis the administrator password for the Windows machine. It is set to1genvid6by default but feel free to change it. The Windows machine is only accessible from the other server instances and from other machines that share the same external IP as yours [4]. It is a good practice to not keep the same admin password as everyone else.ami_prefixis a common prefix for the game AMI that we will create at the next step. You can change it if you want to experiment with your own AMI. The default value for this setting isdefault.
See the Terraform Configuration Documentation for more information on how to setup those variables globally or locally.
| [3] | There is a current limitation right now where the region must be the same as the default region in your AWS configuration. |
| [4] | Future versions of the Cluster will use a bastion host instead, which will be far more secure. |
Setting up the AMI
For licensing reasons, the AMI for the game machine requires some manual steps before being ready for your needs. We provide a basic image and you must install the necessary audio and video drivers, as well as any other libraries required by your software.
The current AMI comes with Windows Server 2012 R2, .Net Framework Core and 4.5, Visual Studio C Runtime 2013 and 2015, as well as DirectX June 2010. We also install different open source components:
- Consul, Nomad, and Python, necessary for running the Genvid Stack.
- TightVNC for easy access, since Remote Desktop doesn’t give access to the GPU.
- Consul-template, which can be useful to run some service on the machines, if you need it.
- AWS Command Line Interface, to access various Amazon services.
Starting the initialization AMI
Run the following command for starting the AMI:
py cloud.py setup-ami
This will start a small VPC with the base Genvid image, with your PC external IP as the sole trusted IP. The first run takes a long time for Windows to setup the necessary elements. Expect around 30 minutes before the script stops. After the script is done executing, you will get a message similar to this one:
You can now connect to the game machine on vnc://<some ip address>:5900/
You can start TightVNC viewer with the public machine IP and the default
port for VNC (actually, 5900, but you can just put nothing). If you
miss the game machine IP, you can always run the following command to
see it again (or re-run setup-ami):
py cloud.py output game_public_ips
Configuring the Windows Instance
Note
You can find this instructions on the Desktop of the game machine
under the 0 - Genvid Documentation shortcut.
Installing the Virtual Audio Cable
The instance doesn’t have any speakers. Some drivers can provide
virtual ones that can be sufficient for our purposes. Execute the
desktop link named 1 - Install VBAudio.
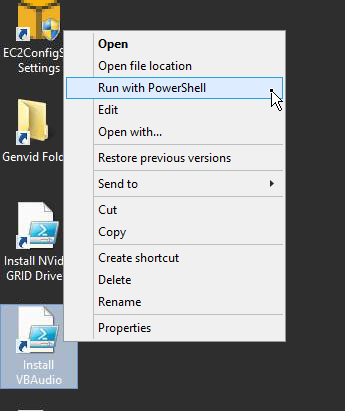
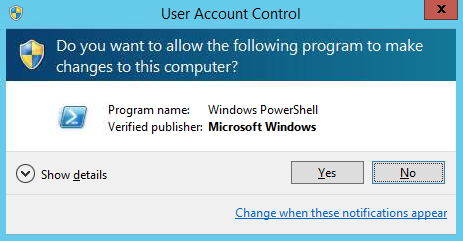
A User Access Control dialog will be displayed; select Yes.
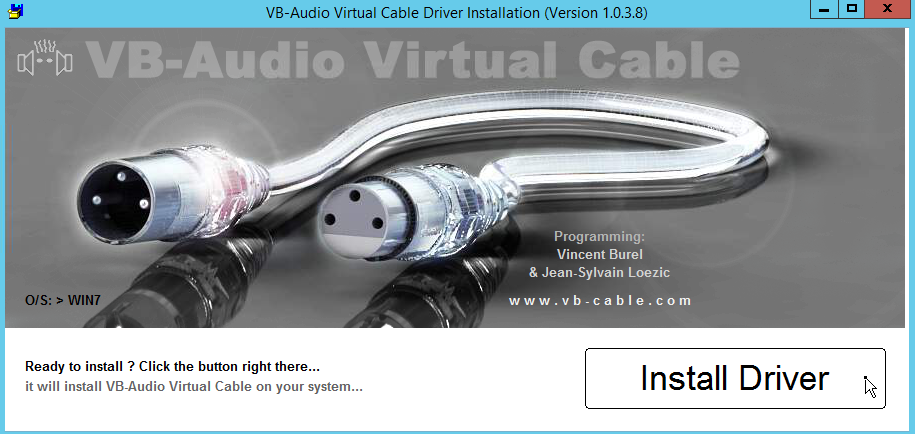
A window will popup and the script will download the installer and
start it. You will then be prompted with the VBAudio installer.
Select Install Driver.
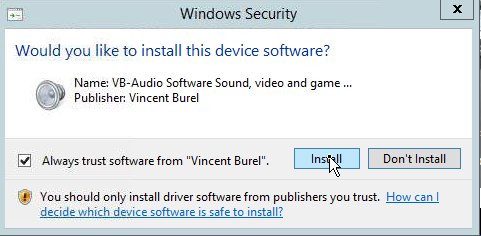
Another Windows Security dialog will be prompted asking you if you
trusted the driver being installed. Answer yes again.
The installer will run a little and create a virtual audio device and, if everything is ok, tell you that you should reboot to finish the installation. Press OK but don’t reboot immediately, we have other things to install first. A browser will be open to the VB-Audio webpage. Feel free to donate for this very useful piece of software.
Installing the NVidia GRID Drivers
The second part involves installing the NVidia GRID drivers. As with
the above, execute the following link on the desktop: 2 - Install
NVidia GRID Drivers. This will open the NVidia Web Page for the
Driver.
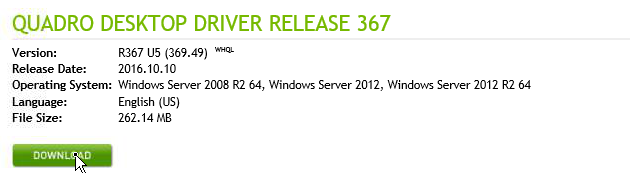
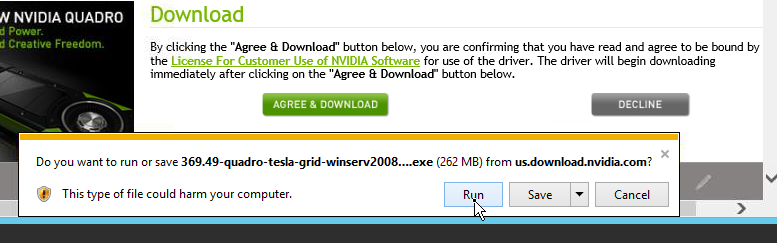
Click on the Download button, and you will then be presented with
the License Agreement. Press the Agree & Download and accept to
save or directly run the file.
Another UAC dialog will be displayed, and the installation will begin. Just accept the default and let the installation proceed. At the end, you will be prompted to reboot the machine. Restart now and reconnect to the machine once you get disconnected. It takes just a few seconds for the machine to restart so don’t go too far.
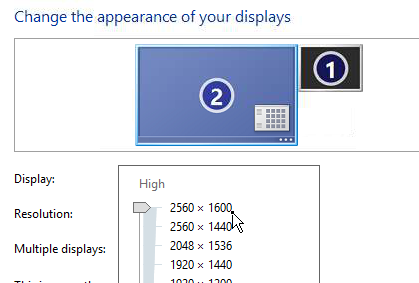
Setting up the display
Once the machine reboots and you get reconnected, double-click the
following link on the desktop: 3 - Change Desktop Resolution.
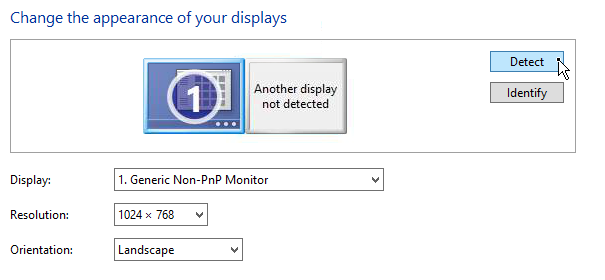
You will then be presented with the Change the appearance of your
displays dialog. Click on the Detect on the right, and a second
screen should appear, with the mention Another display not
detected.
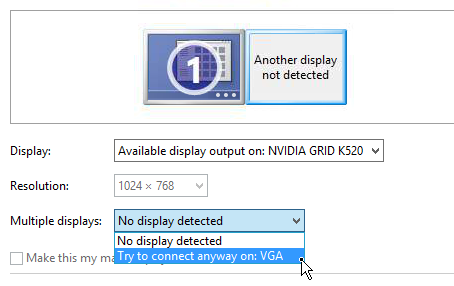
Click on the new display icon, and, under Multiple displays,
select the Try to connect anyway on: VGA.
The display is now labeled 2. Select Apply, and reclick on
display 2. Back in Multiple displays, you can select Show
desktop only on 2. Click Apply again and a dialog with a
countdown will ask you if you want to keep the change. Click Keep
changes. You can now select a new resolution. The suggested
resolution is 2560x1600 (the maximum) and it’s ok for our needs. This
will not affect either the game or the stream resolution, since the game
is run windowed.
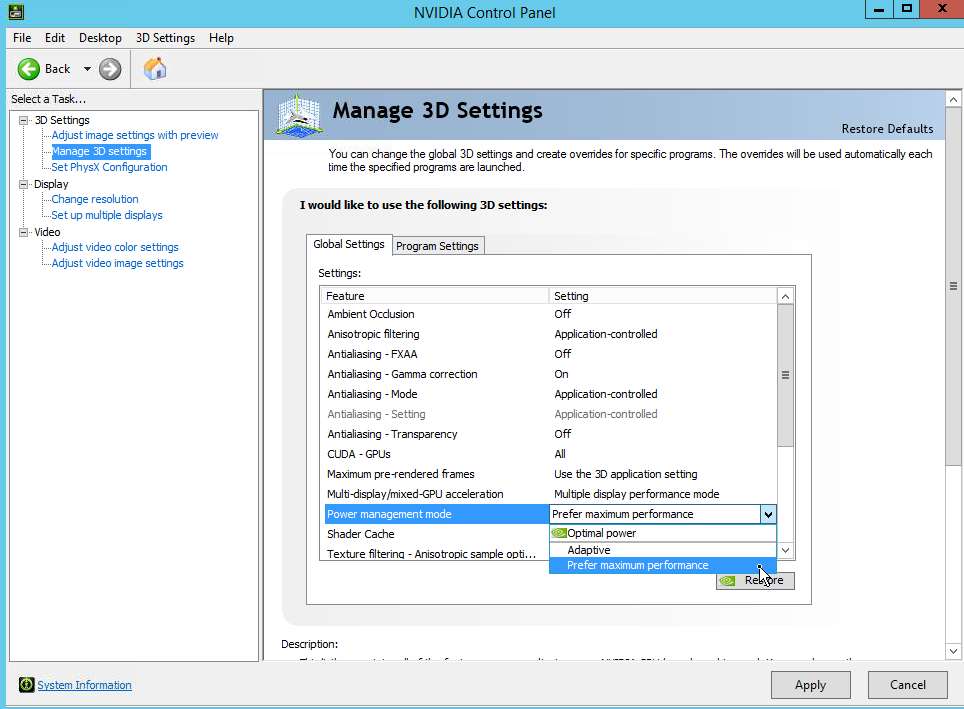
Click OK now, and Keep Changes again. This will close the
Screen Resolution Dialog. You can now open the NVidia Control
Panel by double-clicking on the desktop link 4 - Manage 3D
Settings. You can then select some 3D options you want. The one we
recommend is in 3D Settings -> Manage 3D Settings panel, then
select Prefer maximum performance under the Power management
mode. Click Apply and close the dialog after that.
You can now customize and install anything you want on the machine, like runtime libraries or special software. We have another mechanism for updating the game, but if something is unlikely to change, it can saved you some setup time. Just don’t install anything on the Z: drive, it will be scrapped when we terminate the instance.
Saving the AMI
Once the instance is setup to your liking, you can shut it down. To prevent some conflicts on the network and other problems, you must do a sysprep shutdown. This will reset the Administrator account and Computer Name, but most importantly, this will allow you to setup the new instance with User Data, a mechanism which allow launch time configuration of new instances.
To shut down properly, double-click on the desktop link 5 - Shutdown
with Sysprep. The script will first prompt you if you want to
change the Execution Policy. Select yes, and then it will show
another UAC dialog (select OK) and start running sysprep. Once the
process is complete, the machine will start to shut down.
Once it is stopped (the script will check for it anyway), you can run the following command:
py cloud.py save-ami
This will saved the AMI under the
[ami_prefix]-wingame-[version]-[timestamp] name, so that the
system can now find it. This will take several minutes to succeed,
but once it’s done, you have your own Windows AMI from which to start
the game.
Managing the AMI
Two other commands are available to help you manage your AMI:
rename-ami
py cloud.py rename-ami [ami-id] [new-prefix]
This command allow you to change the copy the AMI to a new prefix,
allowing you to prepare an AMI for your team privately, and then make
it available for the rest of the team which who are using
new-prefix for the value of ami_prefix.
copy-ami
py cloud.py copy-ami [ami-id] [region1] [region2] ...
This command copy the ami to different regions. To see the name of the valid regions, you can run:
aws ec2 describe-regions --query "Regions[].RegionName" --output text