Using the Unity Sample to Test Video and Audio Setup
Once you’ve added video and audio streams to your Unity project’s GenvidSession prefab, you can use code from the Genvid Unity sample to quickly check that your streams are set up correctly.
In the Video prefab:
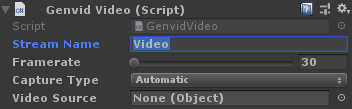
- Change Stream Name to Video.
- Change Framerate to 30 or 60.
- Keep Capture Type Automatic. (See Genvid Video for information about other video capture types.)
In the Audio prefab:
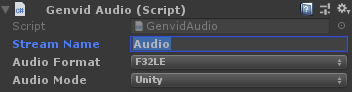
- Change Stream Name to Audio.
- Keep Audio Format F32LE.
- Keep Audio Mode Unity. (See Genvid Audio for information about other audio capture types.)
Open a command line prompt and go to the Unity sample folder.
Run
genvid-bastion install mybastion -lu. (See The Local Environment for more about setup and available command line options.)Run
genvid-sdk setupto configure the local cluster.Run
genvid-sdk load-config-sdkto load the services for the SDK.Run
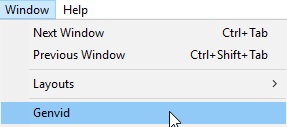
py unity.py loadto load the jobs and configuration for this demo.In the Unity editor, select to open the Genvid window.
In the < Select a Cluster > dropdown, click local.

Start the Services and Web jobs from the Jobs section.

Click Open Link for CUBE SAMPLE in the Links section.
Click Start in the editor.
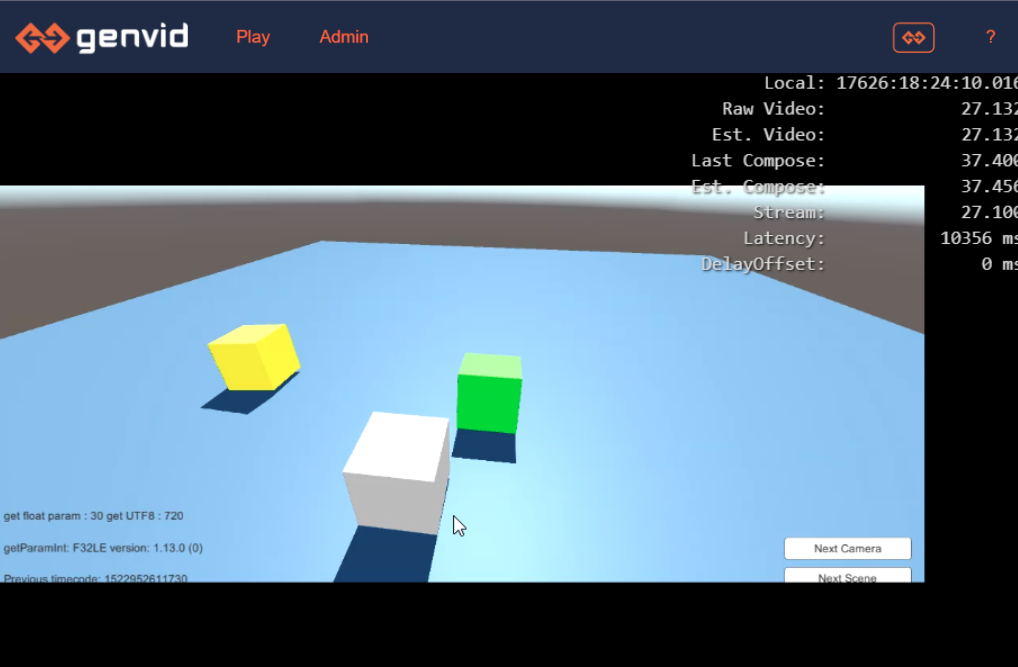
Your game should now be displayed in the website. You might need to refresh the webpage and wait for the stream to update.