First Steps
Requirements
Genvid provides the necessary Terraform templates for managing your cluster on AWS. The following steps will help you configure your first cluster. The cluster configuration takes about an hour to complete the first time. Afterwards, the results can be shared with your team.
For running on AWS you first need an AWS account. Please note that running Genvid does not fall under the free tier, so your account must have an approved credit card. Genvid Technologies is not responsible for any billing on your account.
Setting up the AMI
The AMI for the game machine requires some manual steps before use. We provide a basic image. You install the necessary audio and video drivers, as well as any other libraries required by your software.
The current AMI comes with:
- Windows Server 2012 R2
- .Net Framework Core and 4.5
- Visual Studio C Runtime 2013 and 2015
- DirectX June 2010
We also install these open source components:
-
Necessary for running the Genvid Stack.
-
Used for remote access, since Remote Desktop doesn’t give access to the GPU.
-
Used to run some services on the machines.
-
Used to access various Amazon services.
Starting the initialization AMI
First, ensure the Bastion service is running:
genvid-bastion install --checkmodules
Run the following command to start the AMI:
genvid-ami setup mycluster --az b
The name mycluster is a unique name used to distinguish your cluster from
any other cluster currently running. You add it on the command line for almost
every command of genvid-ami. The actual name of the cluster will be
suffixed with -ami-setup (e.g. mycluster-ami-setup) to help with the
distinction.
The --az specifies an availability zone (b in the example). The Windows
AMI requires a GPU and GPU instances aren’t available in every availability
zone. You’ll need to try a different zone if you get an error message like this:
Your requested instance type (g2.2xlarge Windows) is not supported
in your requested Availability Zone (us-east-1a). Please retry your
request by not specifying an Availability Zone or choosing
us-east-1c, us-east-1b, us-east-1d, us-east-1e.
The name of the availability zone appears in the error message and the option
corresponds to the last letter of the name (like b in us-east-1b).
The command starts a small VPC with the base Genvid image, using your device’s external IP as the sole trusted IP. The first run takes a long time for Windows to setup the necessary elements. Expect around 30 minutes before the script stops.
After the script finishes you get a message like this:
You can now connect to the game machine on vnc://<some ip address>:5900/
You can start TightVNC viewer with the public machine IP and the default port (5900 by default, but you can also leave it blank).
You can run the following command to find the machine IP:
genvid-ami output mycluster game_public_ips
You can also re-run genvid-ami setup mycluster:
Configuring the Windows Instance
Note
You can find these instructions on the Desktop of the game machine under the
0 - Genvid Documentation shortcut.
Installing the Virtual Audio Cable
Because the instance doesn’t have real speakers Genvid uses virtual drivers. To
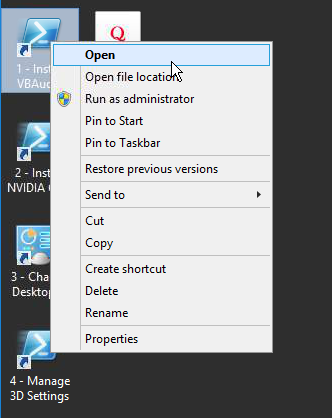
install them, launch the desktop link 1 - Install VBAudio.
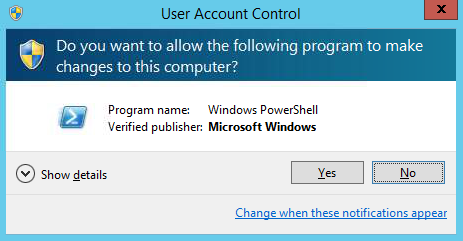
When the Windows Security dialog appears, select Yes.
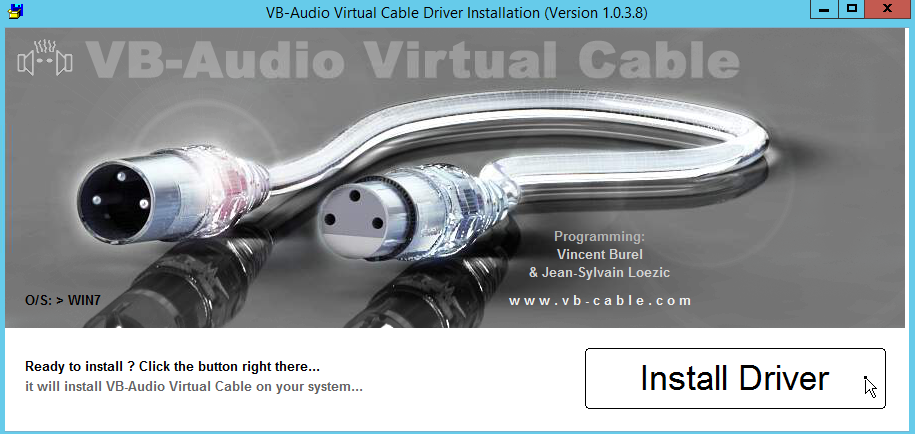
A window will pop up and the script downloads the installer and starts it. When the VBAudio installer appears, select Install Driver.
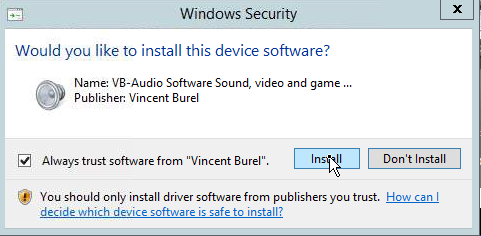
When the Windows Security dialog appears, select Yes.
When the installer finishes, select OK but don’t reboot yet. That can wait until after you install the video drivers.
Installing the NVIDIA GRID Drivers
To install the NVIDIA GRID drivers, launch the 2 - Install NVIDIA GRID
Drivers from the desktop. This opens the NVIDIA Web Page for the Driver.
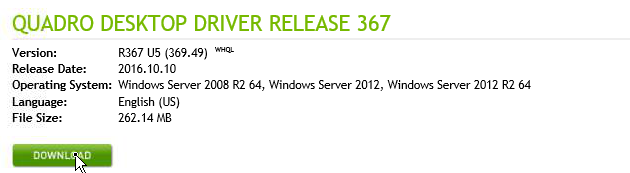
Click the Download button. After, you will see the NVIDIA License Agreement. Click Agree & Download to accept and save or directly run the installer.
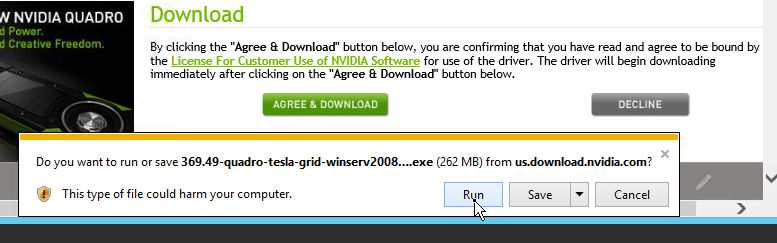
When the Windows Security dialog appears, select Yes. Accept the
defaults to start the installation.
When installation finishes, you’re prompted to reboot the machine. Restart it now to finish the setup. The machine only needs a few seconds to restart and you can reconnect to it.
Setting up the display
Once you reconnect, launch the 3 - Change Desktop Resolution link on the
desktop.
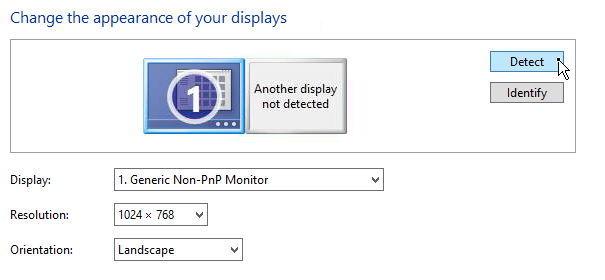
From the Change the appearance of your displays dialog, click Detect. A
second screen appears saying Another display not detected.
Under Multiple displays, select Try to connect anyway on: VGA.
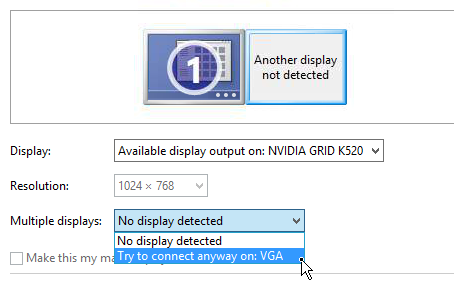
The display is now labeled 2. Next:
- Click Apply
- Select display
2 - Select
Show desktop only on 2underMultiple displays - Click Apply
- Click Keep changes on the countdown dialog
You can now select a new resolution. The suggested resolution is 2560x1600 (the maximum), which should work fine. This won’t affect either the game or the stream resolution, since the game runs windowed.
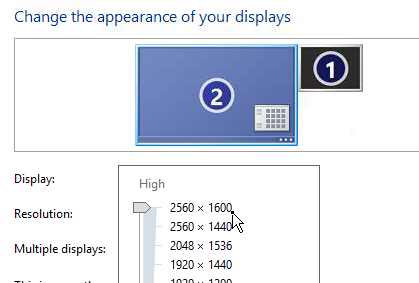
- Click OK
- Click Keep Changes
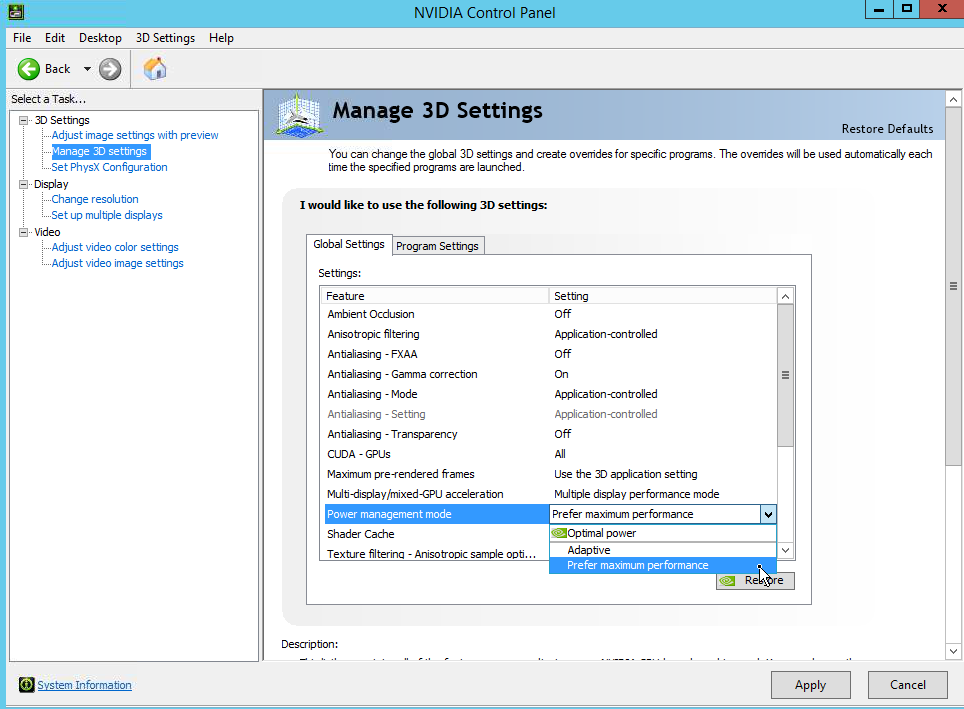
Launch the 4 - Manage 3D Settings from the desktop to open the NVIDIA
Control Panel. You can then select 3D options you want. We recommend you at
least set Power Management to favor performance.
- Go to 3D Settings -> Manage 3D Settings
- Select Prefer maximum performance under
Power management mode - Click Apply
You can now customize and install any runtime libraries or special software you want on the machine. Although you can update the game later, you can save some setup time if nothing is likely to change.
Note
Don’t install anything on the Z: drive, as it will be scrapped when we terminate the instance.
Saving the AMI
Once the instance is set up you can shut it down. To prevent conflicts on the network and other problems, you must do a sysprep shutdown. This resets the Administrator account and Computer Name. It also lets you set up the new instance with User Data, which allows launch time configuration of new instances.
To shut down properly, launch the 5 - Shutdown with Sysprep link from the
desktop.
- Select yes to change the Execution Policy
- Select OK on the Windows Security dialog
The sysprep script starts the machine shutdown.
Once it stops, you can save the AMI.
genvid-ami save mycluster --prefix myprefix
This saves the AMI under the myprefix-wingame-[version]-[timestamp] name so
the system can find it. (You can use any name.) When finished, you have your own
Windows AMI for starting the game.
Cleaning up
Once done, you can terminate the instance and clean up the cluster:
genvid-ami clean mycluster
This command destroys the VPC on AWS and deletes the cluster set up by Bastion.
Managing the AMI
Other commands and options are available with the genvid-ami script. There are two which are particularly helpful for managing the AMI:
rename
genvid-ami rename [ami-id] [new-prefix]
Use this command the copy the saved AMI and save it with a new prefix. Your team can use the AMI with the new prefix to launch preconfigured clusters.
copy
genvid-ami copy [ami-id] [region1] [region2] ...
This command copies the AMI to different regions. To see the name of the valid regions, you can run:
aws ec2 describe-regions --query "Regions[].RegionName" --output text